Wednesday, February 10, 2016

Our House Build - The Shed

A quick run down on the shed as I just realised I hadn't covered it.

I'm going to be doing a 15m wide, 7m deep shed in colourbond. This means 105m2 of floor space, meaning room for plenty of projects/storage and a seperate area for machine work - I am hoping to fit 3 phase power so I can pick up cheap ex-commercial tools - a bridgeport mill is high on the desire list!

I've also got a lathe that belonged to my late grandfather that will be moving into the shed at the same time we do.

The shed will be accessed by a 5.1m wide roller on the gable end (facing south) - this is so the driveway from the drive-through part of the garage can run along the south fence, and also because it's actually easier to access with a single wide door than 2x 3.1m doors due to the angle of approach - again thinking of future boat/caravan/car trailer use.

I plan to fit a 2 post vehicle hoist; I've used one a couple of times at work, and our last rental had an inspection pit and I truly miss that here trying to work on my back on a concrete floor. I don't believe you can legally put a pit in these days in a residential shed so a hoist is the best option. To clear a hoist the shed has to have a 3.3m high wall and a 4m gable height. A 3.6m wall would allow the hoist to be against a wall, but I'm happy to center it and have work bench space either side for tools etc. The machining stuff will be against the "rear" wall past the hoist, then there will be room in front of the hoist for cars to be parked/worked on etc.

There'll also be a personal access door on the wall that faces the house, on the south west corner.

Future solar panels will be fitted to the roof of the shed so as to not detract from the houses street appeal.

By the looks of the model in sketchup, the shed will be all but invisible from the street because the house is wider and the overall roof height will be similar between the two buildings (because the house will have about a 22 degree roof and 2700 walls, plus the slope of the block down towards the rear, and the shed will only have a 15 degree roof pitch.

Per my previous post the colours should match the house colours and help it blend a little better. The shed has to be 1100mm off the north boundary purely because of the height of the walls.

We're looking highly likely to use Chris Rodda at Westvic Sheds in Colac because he's a customer of mine and has been very helpful through the sizing/quoting process (and he's done a ripper price). Initially we will do the slab and shed, and a power feed in to a sub board into the shed at the same time as the house. Actual wiring and lighting for the shed I will get done at a later stage, as we can't afford to do that and finish the house off the way we want at the same time.

I wanted to assemble the shed myself but our builder is happy to let it be done at the same time as the house and through him for both building permit and the bank on the proviso that it be assembled by someone who can warrant it under the BCA. This is fair enough but eats a further $3,600 of our budget. If the bank knocks it back because of the anticipated completed value of the property, we will probably have to look into other funding as the shed is a non-negotiable - it'll be much too difficult to complete with the house finished especially once we have neighbours!!


Red hoist is a Molnar unit just for dimensions. Black box is the extreme dimensions of an NB MX-5, green of an E21 and purple of an ED Falcon - I created this drawing so I could try and mesh out where I'll eventually put things.

Our House Build - Porter Davis' World of Style

We're going to head to Melbourne to check out the Porter Davis' World of Style (www.worldofstyle.com) as it's open to the public. With any luck this will help us pick some colours for the interior.

Exterior wise we need to pick a render colour but otherwise we're pretty set on the following:

Bricks - Boral Horizons Mocha
Gutter/Architraves - Colorbond Monument
Roof - Colorbond Basalt
Windows/Doors - A&L Monument Satin
Downpipes - Colorbond Terrain (closest match to mocha bricks)

For the shed, I'll likely do Colorbond terrain walls, monument gutters and basalt roof to match the house.

Sarah and I both like the idea of Dulux Orangeade for the front door, but feel it may be too bold for the garage door, so perhaps we will go with one of our two colorbond colours for that.

I'd love to do the roof in Momument as well but Sarah's adamant that it will get too hot in the sun. I want a thermo controlled vent for the roof space for summer and figure it probably won't make a lot of difference on that basis; but she's probably right. The Basalt still has a high solar heat gain co-efficient (.6 vs .8 I think) vs a lighter colour at around .2; but I prefer the look of a darker roof through driving around looking at them.

Interior floor wise we'd love to do polished concrete (happy to do just the slab with a grind and polish rather than a special floor with any added aggregates; but it's cost dependant. If we can't pull that off we'll probably go some sort of large format tile (we need something dark-ish and slab-connected for solar heat gain in the living area in winter, so as much as Sarah would like timber flooring as a second option to polished concrete, I don't think it's practical for our design.)

We're also thinking (at this point) of neutrals for the walls - greys - I'm sceptical of making things too dark although we have a lot of natural light in the living area. Hopefully we can come to some agreement at the World of Style, and perhaps get some great ideas.

Our House Build - Refining The Design

Yesterday (Wednesday 10/2/16) we went and sat down with the builder and he drew some features with us in realtime.

Some minor changes to the plan (I don't have any screenshots to post as I don't have a copy of the model - I'll see if I can get it for future stages!) from my originals.

First, the rear wall from the living area to the bedroom and laundry/bathroom all line up now - this means the bathroom has grown as as the laundry, but more importantly the roof design is easier.

Eaves are 450mm because that's the sheet width normally used. I'd done a sun study on the North Windows/Doors and ideally we need a 600mm eave there to stop the sun hitting the floor inside these doors in summer - we will try and come up with a solution further down the track, as doing a 600mm eave on the whole house adds a bunch of cost and complexity that's a bit uncalled for (you'd need to batten it out every 450mm and cut the sheets into 600mm lengths around the whole house!!)

The front entryway roof looks better to us as a hip roof and a standard eave all around, instead of the sloped up roof and parapet wall. It also reduces the risk factor that adding an internal gutter would have added which was eating at me, so ultimately happy to see this and that it looks so good! It also means we can pick some sort of feature render for pillars here.

Children's bedrooms have built in robes now - this is because the walk in robes were too small to comfortably stand in with shelving; going to built in robes gives the same space for storage; but opens the rooms up by 200mm in one direction as well!

They've run with double awning sash windows which are quite wide (three sashes - a fixed glass pane  in the middle). They also put an awning sash window in the east side of the living area between the two north facing doors. The entertainer door is a 6 section door which opens from the center but should give good flow through. We decided against bi-folds as they don't seal as well and I have a few sets at work that are only a year old and already giving grief with opening/closing and chewing out seals.

Laundry we plan to run an in bench basin, under bench washer and space for a future (condenser) dryer, we also specified a full height broom/mop/vacuum/ironing board closet and overhead cupboards.

The seperate toilet has remained and dimensions stay the same, we had to get the provision for basin re-added in as they'd re-jigged the pantry area. The pantry intially was too small by their observation, so they have deleted the display area opposite the theatre. This isn't the end of the world - it actually means an ideal location for a massive hanging artwork, something we will have to make sure we do soon after building otherwise it'll probably never happen!

They suggested we convert the pantry to a butlers pantry - adding a sink only costs $250 for the sink, plumbing etc!! There is a little cost to adding a cabinet and overheads compared to basic shelving; however I compromised by putting shelving to one wall and cupboards to the other (when you open the door to the pantry, you will see the cupboards, the shelving will be visible once you actually walk in). The shelving is going to be fully adjustable so we can adapt it to suit our appliances.

Because the wall for the laundry and bathroom has grown, the splashback window area in the kitchen shrunk/moved rearwards. To help free up space in the kitchen for the pantry, and to assist with allowing the splashback window to be centered in its space, we moved the fridge around to the rear wall. We're leaving a 1000 space even though our current fridge fits in an 820mm space - mainly to allow us to open the door wide enough to remove the shelves; and also to allow us to upgrade to a larger fridge if required in the future.

We've opted for no handles on the overheads (just a lip underneath to open), and also to have a custom window made for the splashback, running from the benchtop all the way to the underside of the overhead cupboards. This adds some complexity, but should give the best look. There's about 500mm each side of the splashback window to locate powerpoints and coffee machine etc. We'll need to pick a tile for these areas as you can't really use glass because it will return onto the window frame and tiles will work better for that purpose.

The island bench will house the sink and the dishwasher, we will put the microwave in the pantry cupboards as we rarely use it. The oven will be centered under the splashback and the rangehood will be concealed in the overheads. We're not yet sure if we're going to cover the kitchen area with a 2400mm ceiling bulkhead or just run a bulkhead to the top of the overheads - we don't want a dust catcher on top of the cupboards though (our current rental and the one before had that!!!)

We're also positioning the overheads higher than normal to match the rangehood's required height. This means the window gets bigger; but also that I'm much less likely to hit my head - which is a big win!

The island had been drawn as 900mm with no waterfall edges. The builder feels waterfall edges have run their course; we partially agree - especially as I read an article the other day that pointed out that it means nobody can comfortably stand or work at the ends. Sarah wants a 1200mm island and the builder agreed that a decent island bench can just about sell a house on its own. We want caesarstone tops here and the builder showed us one with 700mm edges that looked amazing so we will probably do that. To support the tops and allow stools to fit underneath, we are going with an additional half depth set of cupboards on the dining room side. We'll certainly have plenty of storage!

The living room end of the island lines up with the fridge cavity and hence the "edge" of the kitchen. This end does not have a waterfall end on it but does have a powerpoint for appliances to be used on the island. The other end facing the entertainer door will have a waterfall end. The sink will be at this end.

The shelving in the walk-through robe is split which means more room to move around - we should still have very good storage and space there. The builder has added a window to the WC and also we discussed a window for the ensuite - initially he suggested many people would go a big window here so you can see out while in the bath however we prefer a tall slim window for our privacy. Because this faces east we should still get plenty of natural light in there in the mornings.

We also discussed concealing the door to the Walk Through Robe (I think I'll just write WTR now!) by designing a feature wall using craftwood rectangles of varying heights - the builder thinks this will be reasonably easy to do (we saw this in a display home and felt it was really cool).

We didn't discuss doing a concealed door for the pantry, which I've just thought of now - I'll bring that up next time we meet; it's hardly a deal breaker and will depend on the finishes we choose - if we go for a feature wall there it might work. The pantry door will be opposite the island to ensure you can still access it if someone has the fridge open - the space where the fridge was may be replaced by a large blackboard or potentially a feature wall.

Hopefully when we get further down the track I'll be able to grab a copy of the sketchup model to play with finishes/apply our colours and do some renders; that would be nice.

Our House Build - Bricks

We made a trip to Ballarat to see the Boral Selection Center and found a brick we liked the look of, this is the Boral Horizon "Mocha"

The selection center were very helpful and gave us a sheet with some addresses of houses built using this brick. A short drive and we were able to check out a few and see if we liked it when applied to a whole building. Much better than the 3 brick displays at most builders!


Our backup plan based on some internet searches were Kurrajong (similar colour but perhaps not as much variance as Mocha) and then Brown Terrain if both of the others were too expensive.

We need not have worried, our builder's level 1 standard inclusion brick range includes the Kurrajong.

The Mocha is a Level 2 so $99/1000 bricks extra. I have no idea how many bricks go into a house but I'm assuming it's not going to cost the earth to use our chosen brick. We're also going to render some sections of the frontage (colour not picked as yet) so we can have a cheaper brick used under the render to offset the cost of the render itself.

*Actually, assuming 2700mm = 47 courses of bricks, and assuming the 245m2 of our house as a square meaning 60m of wall length (square root of 245m = 15m) * 4 sides. 47 * 60,000mm / 230mm per brick = 12,130 bricks or approx $1,200 for the brick upgrade. We'll see how close to that it ends up :)

Our House Build - Builder


Stages three and four of the estate are progressing. Check out how dry everything is. This year is the driest summer on record for about a decade.


Being able to consult on the design with the builder really allowed us some confidence that what we are doing is buildable on-budget. For this reason and because I'd worked with this builder in the past to fit out an IT Service workshop we have decided to proceed with them


Warrnambool Builders / Novara Homes / Jarrod Dorney is our choice of builder. If you're building in Warrnambool and want to be able to tailor something to your budget that's a bit different and with a lot of flexibility in design, then Jarrod is your man. He uses Sketchup and basically draws your plans for free as part of the build process.


Soil test core holes done. Finally some progress. I've mowed the block three times since we were titled - the last time was just taking the tops off some weeds and blowing dust around!


This is the siting plan - using my rough model as the basis and siting the shed 1100mm off the north (left) boundary and the 2000mm easement distance off the east boundary (top). The keen eyed among you may notice it looks like there's less room to either side of the house. Somehow I messed up with my original site drawing and made the front boundary 2m too wide. Lucky the house is still (just) narrow enough to fit!!


No this isn't our house. It is the house directly opposite ours. Check how high they've built up (theirs had to be level to the road at the top (it's a corner block) for their garage. They'll have a pretty decent view from their living areas but that's all south facing glass!! Terrible for heat loss in winter and no benefit for solar heat gain. It looks a big house - I wonder how big ours will seem once the walls are up!

Our House Build - Design

During our display home visits, we found the Watersun Brooklyn display home fitted us almost perfectly. Unfortunately it wasn't to be, as Watersun don't build in Warrnambool! The first sales consultant we talked to seemed to think it was do-able with around $11,000 extra for distance - but when we tried to progress further we were told sorry no we don't build there. Shattered.

The display had a 12 or 14' ceiling to the living area, with a bulkhead over the kitchen. We also liked a display area set up opposite the rumpus room (in the image below the layout there is a little different in this area to the display)


Based on the fact we couldn't build with them, nor could we copy their design due to copyright; I decided to teach myself some more CAD programs (I'd previously used Solidworks and Sketchup) and to design something ourselves. None of the volume builder's plans really fitted what we wanted.


We borrowed some basic layout ideas (although not dimensions) for the living area/kitchen and display area opposite the theatre room; and designed the building to have the main living area facing north (to the left of the image) as well as seperating the master suite from the childrens' bedrooms. We also put an offset in the hallway to allow visitors to not see the bedroom wing, without adding too much unnecessary hallway space.


We put a 12' ceiling in the living area and master bedroom.


We then set about speaking to builders about building our house as planned. Unfortunately it wasn't to be as all the locals we spoke to quoted approx figures of $440,000 (about $1,400/m2) initially. Only one seemed interested in helping us adapt our floor plan to a more budget friendly prospect.


This is the revised floorplan. The builder advised the hallways were excessively wide at 1500 and could come back to 1100 without feeling cramped (we were worried about going too narrow because some of the display hallways seemed very oppressive, many are 900mm and coupled with a standard 2400mm ceiling feel very dark and gloomy.) Doing this over approx 10m of hallway saved 4m2 (at the original $1400/m2 that's $5,600 just in hallway reduction!!.


We also removed the study from the other side of the garage. While it's a great feature we enjoy in our current house, it's also a big cost due to the shape - putting a roof on it becomes difficult and I can always build something later between the rear of the shed and the fence (temporary structure over the sewerage easement) or worst case scenario we can save up and build in the original location in the distant future). This allowed the roof structure to be a traditional hip roof rather than being too complicated which allowed us to come back to a more reasonable estimate of around $970-1100/m2.


The dining area was far too wide (nearly 6m) so we shrank that back to around 4m saving another 10m2 (or $14,000) - as the builder pointed out - a normal table will never look right in that space.

The horizontal timber slats are a neat touch we saw in a few display homes. Keeping the base wall high allows furniture to be sat opposite without any problem, but still allows the room boundaries to feel normal - while allowing better vision through the house from the entry way.

Initially we had a butlers pantry to the left of the kitchen, however it cramped the space too much - changing to a more open kitchen really improves the sensation of space, allows us to have a window as a splashback, and allows us to run a much wider entertainer door to really open up the house and give a sensation of indoor/outdoor living.


The living area roof we dropped to match the rest of the house, we were told approximately $2,500 to lift the whole house ceiling height to 8.5' and another $10,000 approx to go to a 9' ceiling. Opposed to ~$60,000 to do the 12-14' in the living area (the costs skyrocket as all trades suddenly need to use scaffolding, more materials, different engineering for the structure etc)


We also decided not to do the Alfresco area as part of the build. We'll have gas put there for future connection to a mains connected BBQ; but it's not an area we need immediately and that money can go towards other features/finishes that are harder to add later.

The builder also advised the cost of stacker doors is quite similar to the cost of an equivalently sized window, so we changed the two north facing windows to doors to further allow the space to be opened up. In the drawing I've used stegbar door sizes.


He also advised we should try and avoid having any external walls over 12m long without being stepped in/out as it doesn't look right. We then checked out a few local houses and we agree - the ones with long straight walls are just boring boxes with boring rooflines.

Note we're deliberately dropping the garage height from the house, the block has a 1200mm fall from one side to the other - a rather gradual slope given the length of the frontage. In relation to the main body of the house it's probably closer to 600mm running diagonally from the front left to rear right corner.

Dropping the garage gives two benefits - one - carrying the ceiling height from the house through allows us to run much taller doors - this means potential to drive a car on a car trailer (or a future caravan or boat - not just for us but for a potential buyer in the future who may see the rear shed as a perfect storage shed for toys) - it also allows us to level out the garage height to closer to that of the footpath/crossover/driveway to cater for lowered vehicles.


We shrank the kids bedrooms from 3.3x3.3m to 3x3m This is plenty for a single bed + desk, or even a queen bed. Our current house has 3.3x3.3 rooms which are great, but we also have tall-boys in each room which take away 300mm effectively giving the same space.

Note the air lock between the house and garage - this is done to stop ingress/egress of interior air in winter and summer extremes - the house/garage entrance is the primary one we will use while occupying the house, the front door will only really be a guest entrance so an airlock is not so important there. The laundry acts as a second airlock and as a mud room for the shed in the back yard.


We plan to have a walk through robe, a seperate room for the toilet in the master suite, a double vanity, and double showerheads. To make it all fit in this space, we decided to put the bath in the same combined/tiled wet area as the showers. this also allows us to use frameless glass shower screens and a free standing bath (this is on Sarah's MUST list) and it should look quite nice. Using a sliding door for the entry to the ensuite also means the space on the wall opposite the vanity will give us room for a decent towel rail (maybe even heated, budget depending!)


The main toilet is in a seperate room to the bathroom. This serves two purposes - it means we have a guest toilet that doesn't involve going to the "kids" bathroom, and we have a basin alcove to allow washing of hands etc (basically a mini "powder room"). It also means the kids can use the toilet while another is getting ready/showering in the mornings. We are going to get a double vanity in the bathroom as well for the two girls.


We drew a walk in pantry and decided to leave a space at bench height for an applicance shelf (toaster etc) and so bigger applicances (mix master, blender etc) are at easier heights to just lift and move to the kitchen island.

Tuesday, February 9, 2016

Our House Build - Visiting Display Villages

We visited two display villages in Geelong (highly recommend both Warralilly coast and Armstrong Creek estates to anyone considering building!), as well as two in Ballarat, one in Bendigo, one in Point Cook, one in Werribee and another in Williams Landing. Allow yourself a day each for Warralilly and Armstrong Creek, you can however do both of Ballarat's villages in a day, similarly Bendigo is a half day. Werribee/Point Cook and Williams Landing we did in a day - although possibly because we'd already thoroughly been through the two Geelong based ones and didn't dwell too long on bedrooms, double story houses or the likes.

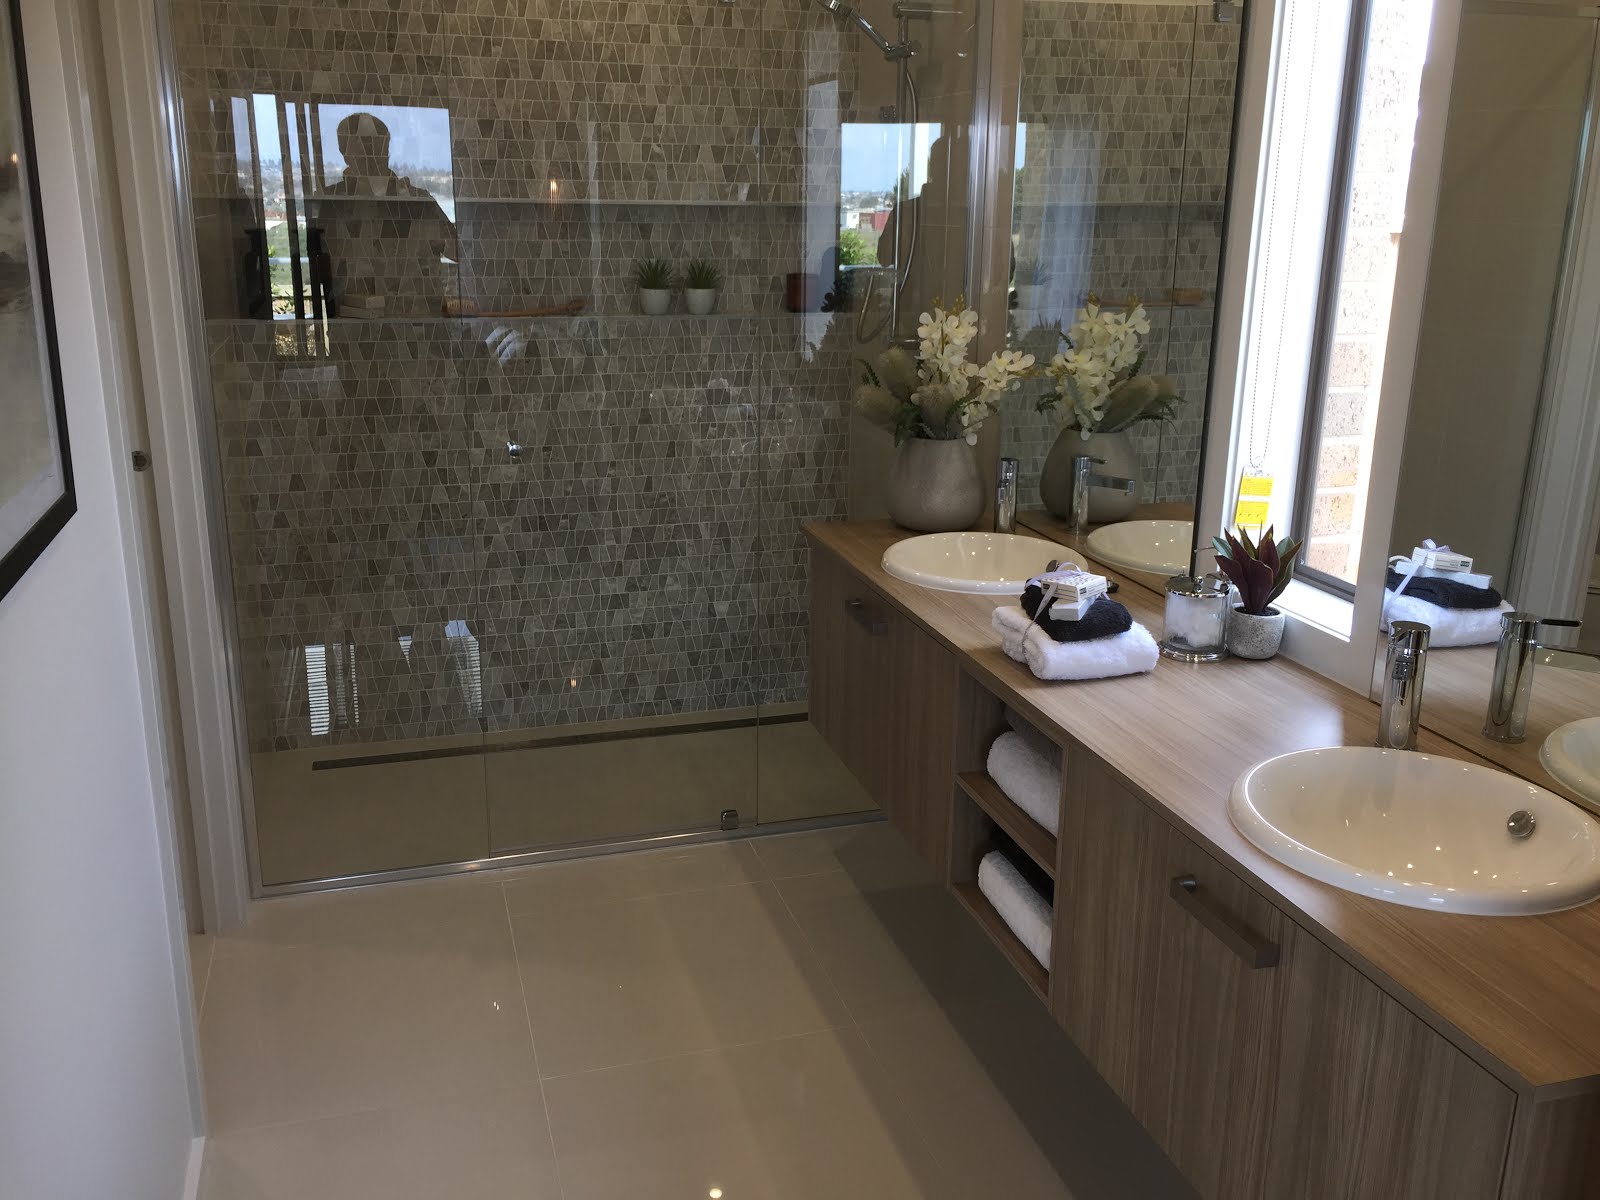
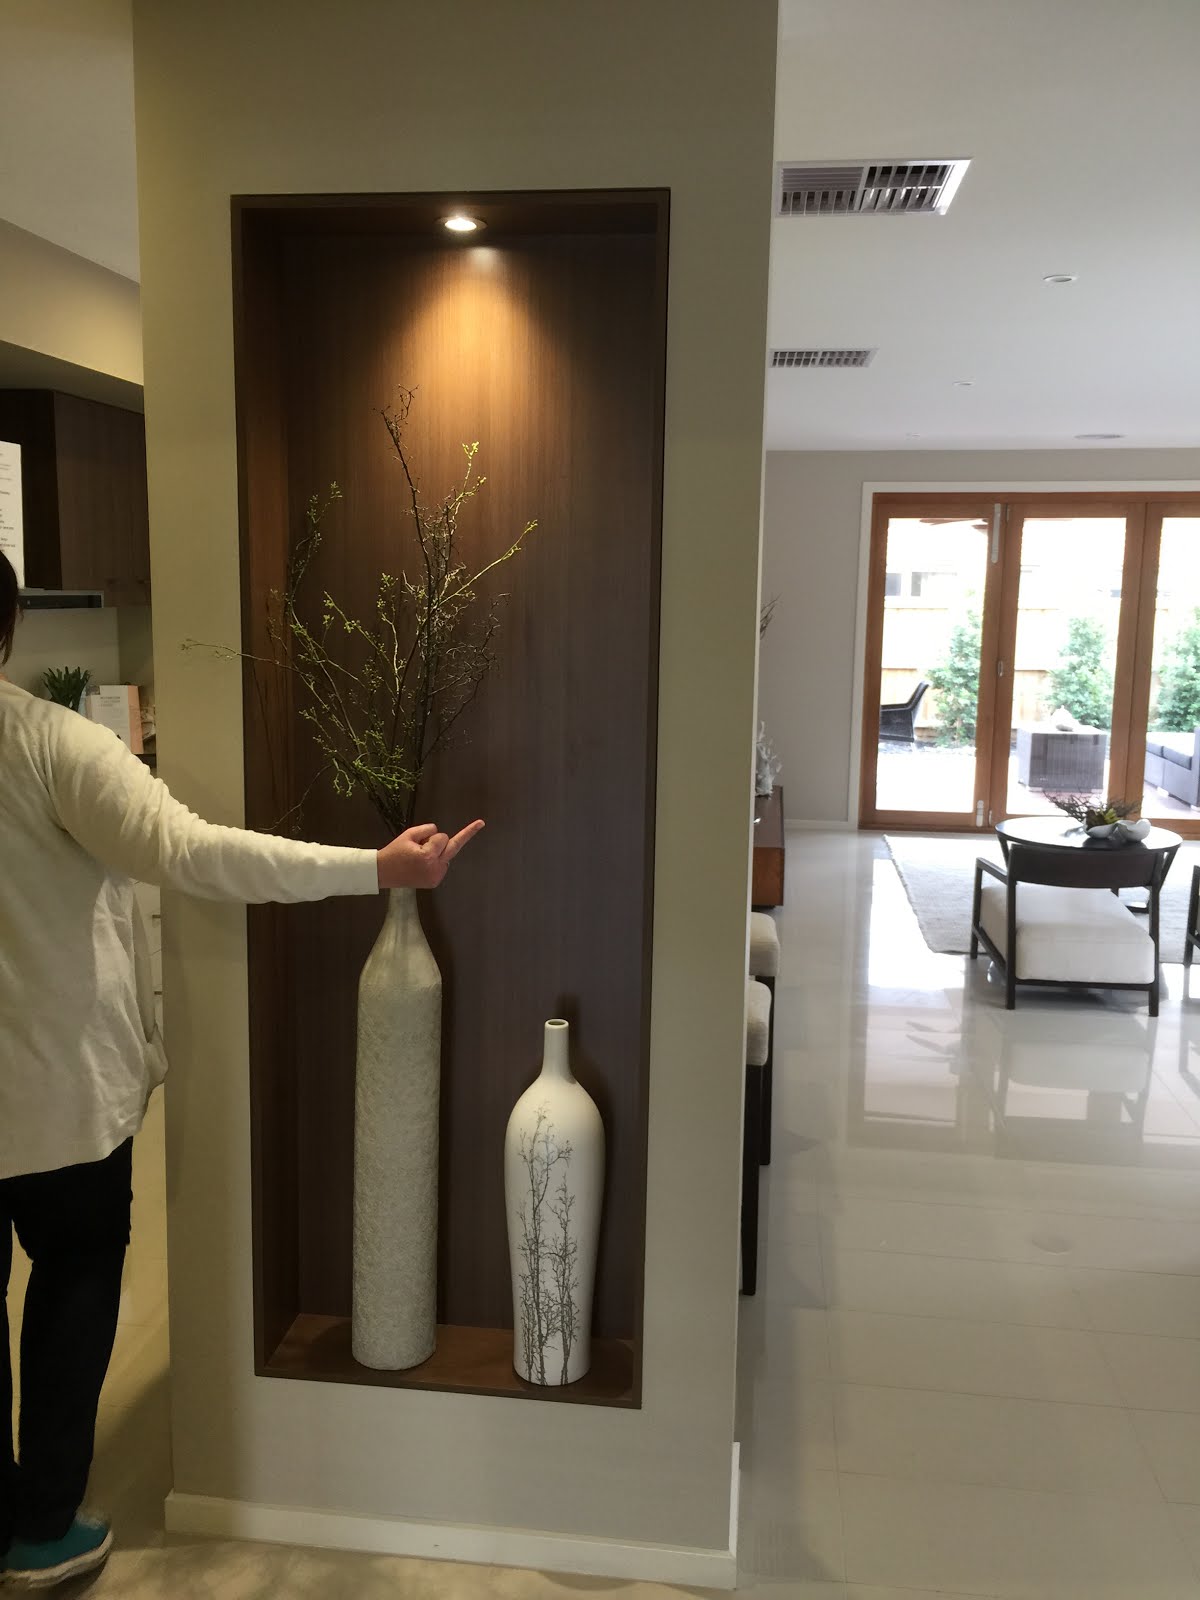
Some photos I saved with ideas (design, finishes, colours, lights, architecture) I liked, or surfaces I liked are attached here, in no order.


There were some stand-out properties among this lot, however many of the builders don't service Warrnambool; so most of the designs we really loved weren't able to be used for our project.

We didn't find any homes that spoke to us from the volume builders who service Warrnambool.